Start with the receiving portal, not the editor
Before changing a file, copy the portal’s requirements into a short checklist. Look for the accepted format, pixel dimensions, physical dimensions, maximum file size, background color and any rule about the face or signature. Keep the original instructions open while you work.
This prevents a common mistake: solving the visible problem while breaking a different requirement. For example, aggressively compressing a photograph may reduce it below 50 KB but also produce visible blocks around the face. Enlarging a small signature to the requested pixel dimensions may technically pass a dimension check while remaining too blurry to verify.
Dimensions and file size are different constraints
Dimensions describe the width and height of an image, normally in pixels. File size describes how much storage the encoded file uses, normally in KB or MB. You can have a 600 × 600 image that is 40 KB or 400 KB depending on format, quality and image complexity.
Set dimensions first. Compress only after the crop and resize are correct. Repeatedly resizing and saving a JPEG can accumulate damage, especially around hair, eyes, text and the thin strokes of a signature.
What DPI changes—and what it does not
DPI matters when a portal interprets physical size, such as 35 × 45 mm at 300 DPI. For many browser uploads, the actual pixel width and height matter more than the DPI metadata. Changing the DPI number alone does not create missing detail. If a portal specifies both millimetres and DPI, calculate the corresponding pixels and verify both values.
Prepare a passport-style photograph
Begin with a well-lit source photo where the full hair outline, face and shoulders are visible. A face detector can help center the crop, but it should not be trusted to decide the final composition without a preview.
- Protect the top of the hair. Leave a small, visible margin above the highest hair point. Face boxes often begin near the forehead and may not include the hair.
- Balance the shoulders. The face should not be mechanically centered if that causes the shoulders to lean against one edge.
- Use an even background. If white or light background is required, inspect the outline around hair and ears after replacement. Harsh cut-outs are a sign that the mask needs correction.
- Avoid beauty edits. Crop, exposure correction and background cleanup are different from changing identity features. Official photographs should remain a faithful representation of the person.
- Export once at the target dimensions. Use JPEG when a small photographic file is required. Use PNG only when the portal accepts it and preserving sharp edges is more important than file size.
A useful automatic crop must still be adjustable
Detection should identify one face, estimate headroom and create an initial crop. The user should be able to move or zoom that crop before download. Automatic does not mean unreviewed.
Prepare a signature without losing thin strokes
A signature usually needs a very different workflow from a photograph. Start from a dark signature on clean, evenly lit paper. If the signature appears on a full scanned page, detection can propose a region, but confirm that it has not selected a stamp, underline, handwritten note or printed label.
Crop with a small margin around the actual ink. Too much whitespace wastes pixels and makes the signature appear small after upload. Too little margin can clip ascenders, descenders or a finishing stroke. Correct the background toward white, then resize and compress.
For very small limits such as 10 KB or 20 KB, inspect the downloaded image at normal viewing size. A file is not usable merely because its byte count is below the limit. If thin strokes disappear, return to the source, increase contrast carefully and try a more suitable combination of dimensions and JPEG quality.
Prepare a PDF document
Use the original digital PDF when possible. Printing and scanning a digital document turns crisp text into pixels, increases size and may make text search impossible. If the source is a scan, straighten pages, remove empty margins and use a resolution that keeps small text readable.
Combine pages in the required order and remove accidental blank pages before compression. Open the final PDF, move through every page and zoom into names, identification numbers, seals and signatures. Never assume a successful download means every page rendered correctly.
Final pre-submission checklist
- The filename uses ordinary letters, numbers, hyphens or underscores.
- The extension matches the actual format: JPG, PNG or PDF.
- Pixel dimensions and orientation match the portal’s instructions.
- The file is below the stated size limit without being unnecessarily degraded.
- No hair, signature stroke, page edge or required text is clipped.
- The output opens on the device you will use for submission.
- You kept the original file separately.
Handle identity documents carefully
Application files can contain sensitive personal information. Prefer a tool that explains whether processing happens in the browser or on a server, uses HTTPS and states how temporary files are removed. Avoid uploading identity documents to unrelated “free converter” pages whose ownership and retention are unclear.
Where the requirements come from
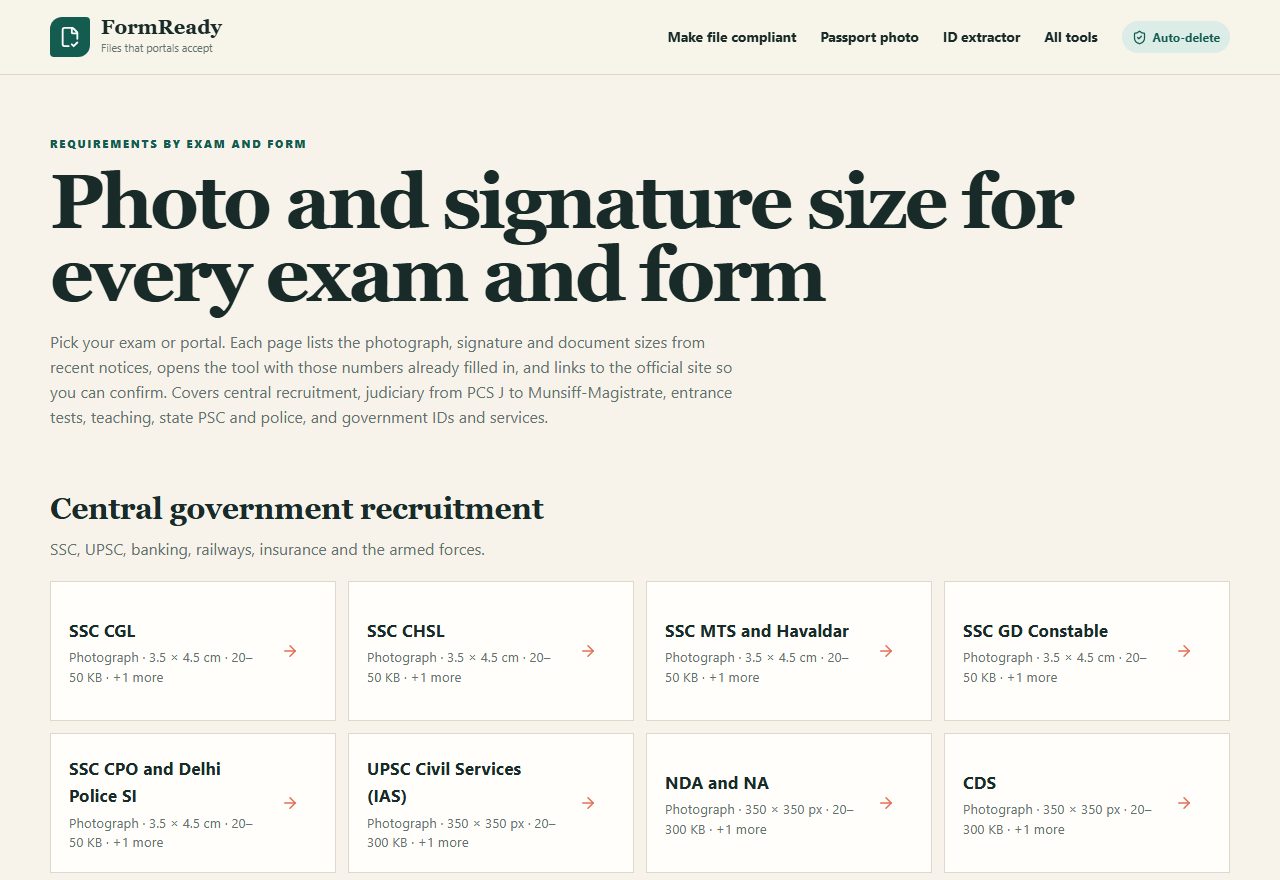
Portals state their requirements in the notification, and the numbers change between recruitment cycles. Rather than guess, FormReady keeps a page for each examination and form with the figures taken from recent notices, a link to the official portal so you can confirm them, and a button that fills those values into the tool.
Prepare and validate the file
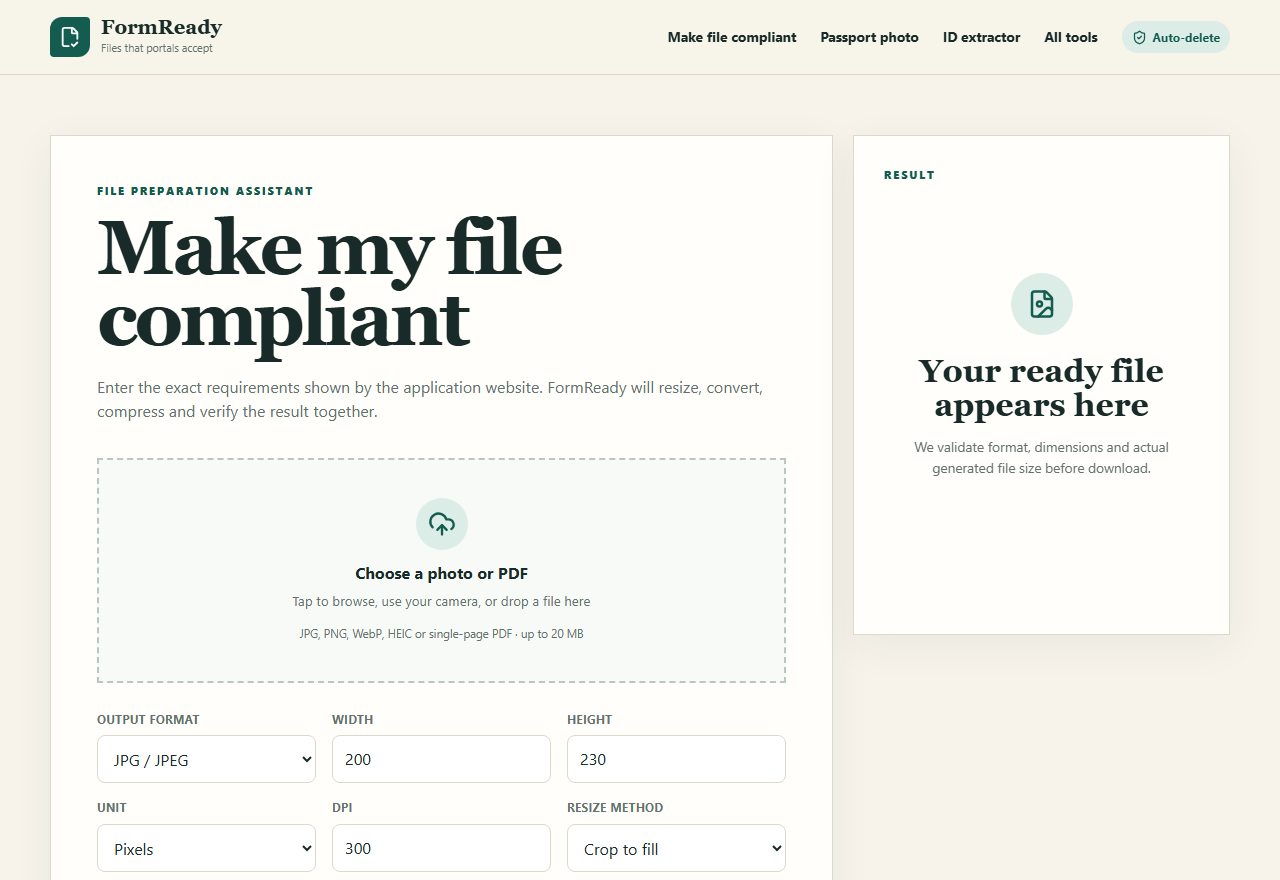
FormReady provides focused workflows for passport photos, signatures, DPI, dimensions, compression and ID-card extraction. Always compare the result with the official portal requirement.
Open FormReady